Micro:bit Block Programming:
Hello World
The micro:bit
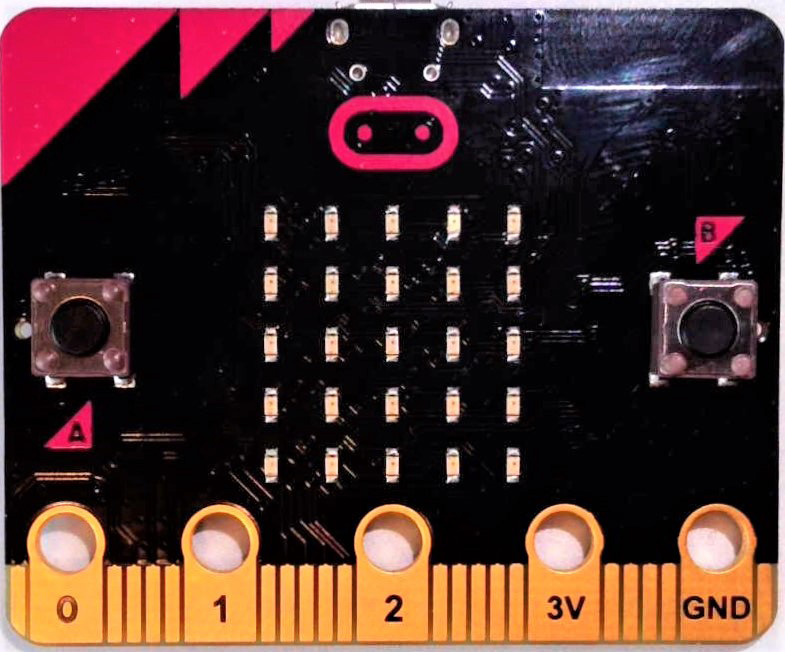
Front
- 5x5 grid of LEDs – used as a display; each light can be programmed to be on or off and have varying intensities of light
- A & B Buttons – buttons that can be programmed to respond to a press or a release
- 3 Input/Output (I/O) rings – to attach sensors and send signals to/from the micro:bit
- 3V and GND rings – to provide power to the external devices that use I/O pins
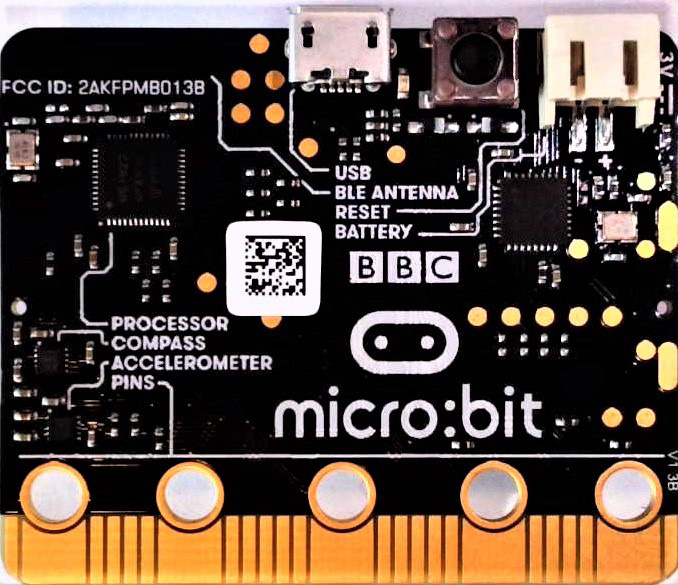
Back
- Antenna – for Bluetooth connection with other devices
- CPU – to run programs; acts as the “brain” of the micro:bit
- Micro-USB – to attach to computer; transfers data and power to micro:bit
- Battery Connector – to attach battery pack for portable power
- Accelerometer – detects shaking, tilting, and other motion of micro:bit
- Compass – detects magnetic fields and direction micro:bit is moving/facing
- Edge Pins – allow users to slot micro:bit into edge connector for greater I/O capabilities
- Reset Button – press to restart the micro:bit and its current program
The "Hello World" Program
The "Hello World" program is believed to have first been used in 1974 by Bell Labs technicians as they were trying to show their counterparts how the computer can be programmed to interact with humans. Since then, it has become widely accepted as the first program new programmers use to learn a new programming language or test a new device.
“Hello World” is widely used for its simplicity, to familiarize users with the coding environment they will be using, and to introduce printing (a useful tool in every programming language).
Block Coding
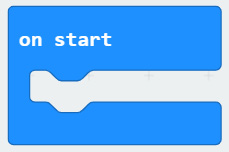
The on start block: This block of code executes the blocks inside of it when the micro:bit starts. The blocks inside of the on start block are executed only once from top to bottom, unless programmed to do otherwise.
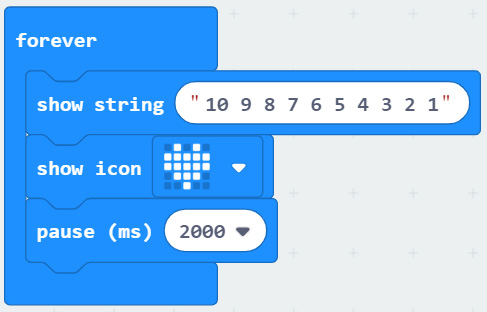
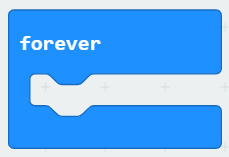
The forever block: This block executes the blocks inside of it forever. The internal blocks are executed from top to bottom, then they are repeated from top to bottom until the micro:bit is powered off, reset, or otherwise programed to stop.
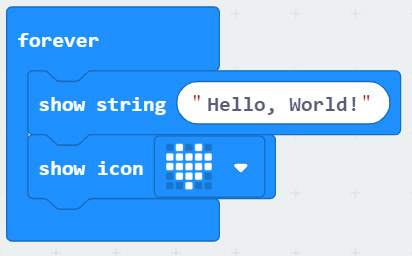
Alter the program so that the micro:bit display shows the string of characters "Hello, World!" and shows an icon of a heart for 2 seconds. Also the program should repeat this sequence forever.
- Since we want everything in the program to repeat forever, we do not need the on start block. Delete the on start block by dragging it to the block types panel. A trash can will appear to indicate that the block will be deleted when the mouse button is released.
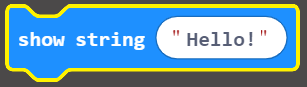
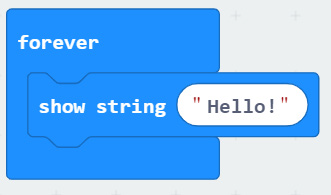
- Use the show string block in the Basic block types.
- Drag the forever block.
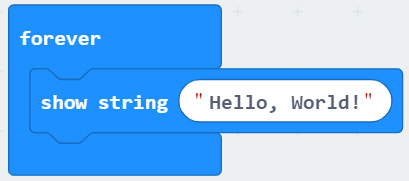
- Change the string of characters "Hello!" to "Hello, World".
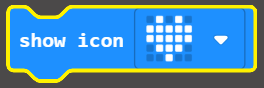
- Find the show icon block in the Basic block types. Place it inside of the existing forever block so that it is below the existing show string block.
- Find the pause(ms) block in the Basic block types. Place it inside the forever block so that it is below the show icon block.


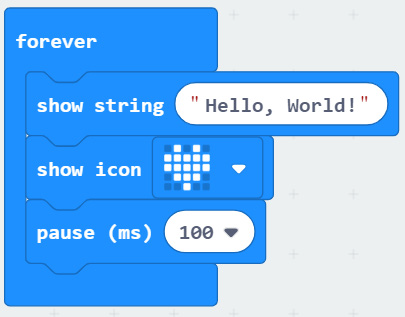
The pause (ms) block causes the program to pause for a specified number of milliseconds (thousandths of a second). The default value is 100 ms, or 100 thousanths of a second, or a tenth of a second.
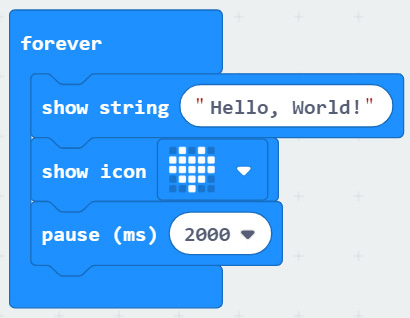
Since we want the program to pause for 2 seconds, we need this value to be 2000 since there are 2000 milliseconds in 2 seconds. Change the value to 2000 ms by clicking and typing 2000, or select 2 seconds from the dropdown.
Name your program. At the bottom of your editor, change the name of your file from "Untitled" to "Hello World". It is important to give each program you create a unique name before saving or downloading to prevent previous programs from being overwritten or confused.

Downloading a program
Microsoft MakeCode offers two methods of downloading your program to the micro:bit. Either can be used depending on your preference. Make certain your micro:bit is plugged into your device.
Option 1 (Preferred)
The first option is to pair your device so that program scan be downloaded directly to the micro:bit with one click. Your micro:bit's firmware must be up to date in order to use this option.
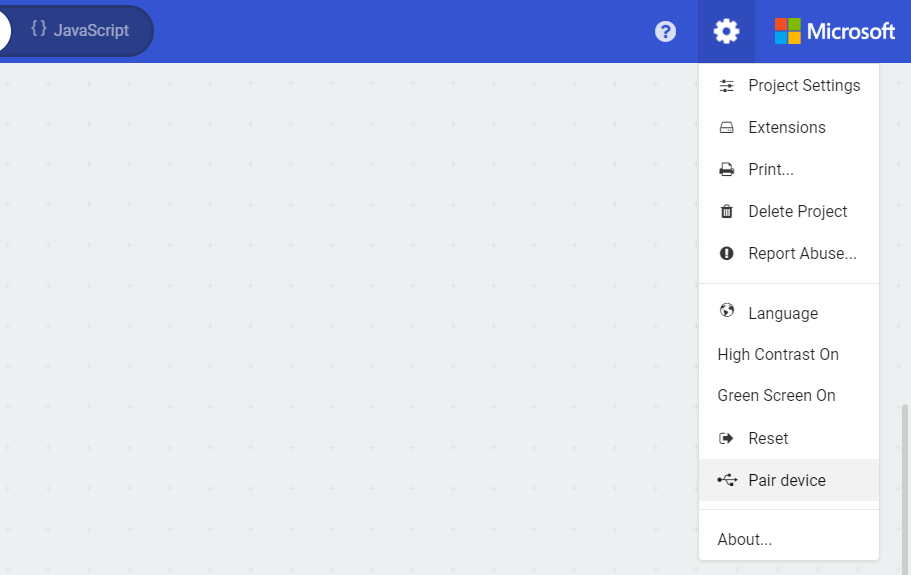
- Click on the Settings icon at the top right of the screen. A drop down window will appear. Click on "Pair device"
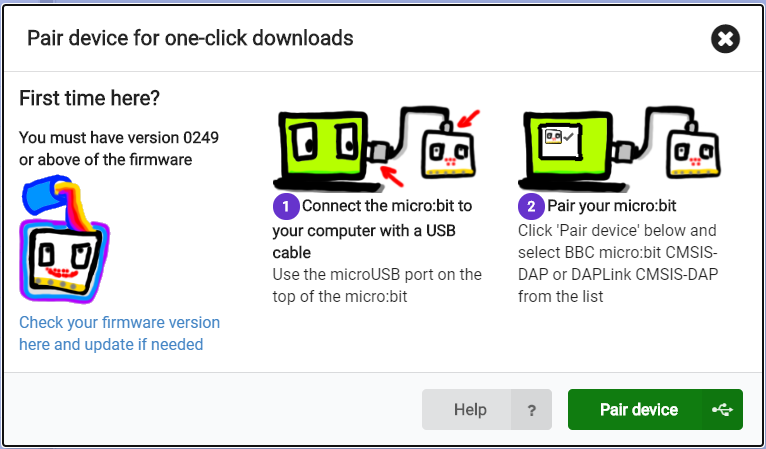
- A pop up will appear that instructs you to connect your micro:bit and pair your device. There is also a link to the firmware update page if you have not checked it already.
- Click the green "Pair device" box
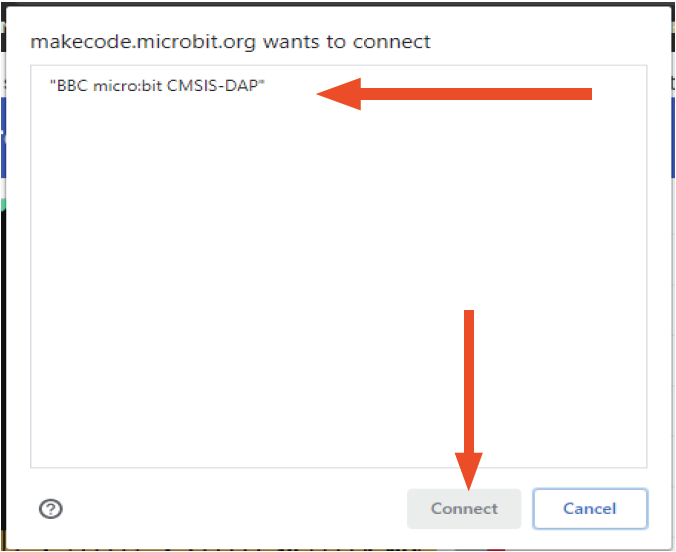
- A second window will appear with your micro:bit listed at the top. If it is not listed, check your firm-ware version and update.
- Click on your micro:bit's name then click "Connect."
- Your device is now ready. Programs you write will be loaded directly to the micro:bit when you click the "Download" button in the editor.
Option 2
If your micro:bit cannot pair with the device you are using, there is another method for getting your pro-grams to the micro:bit.
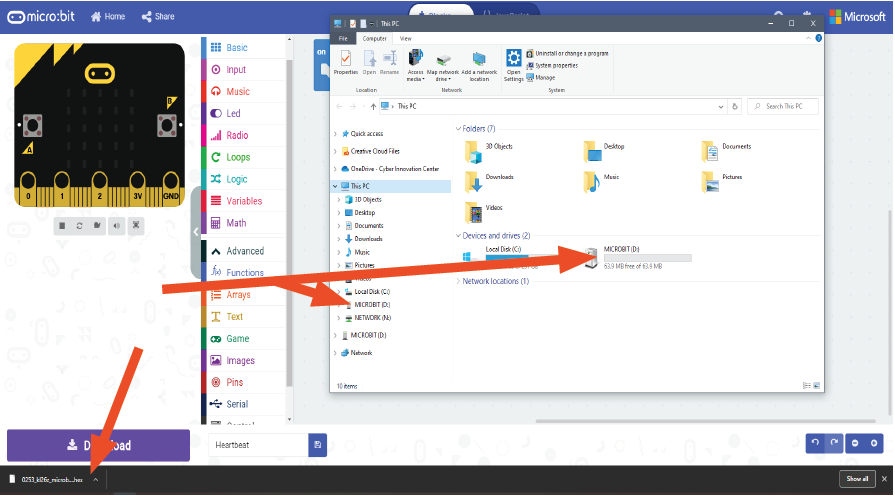
- When you are ready to download your program, click the "Download button on the bottom left of the screen.
- A bar should appear at the bottom of the screen showing your .hex file. Note: if the downloads bar does not appear, you can check the "Downloads" folder using your File Explorer.
- You should see your micro:bit listed under the File Explorer (Finder for Mac). Drag the .hex file to the micro:bit.
- A yellow light should begin flashing on the micro:bit to indicate that the download is in progress. When the flashing stops, your program is ready to use.
Mac users: Finder > Downloads
Additional Challenges
- Alter the code to scroll your own name in place of “world.”
- Create a timer that counts down from 10. This can be done by adding a space between each number.